本篇文章讲解了如何利用云Travis CI Jekyll Docker 自动化部署博客到云服务器,从而解决Github pages百度爬虫禁用的问题。
本文章不包含Github pages 如何配置,相信Google上有类似的文章就不说明了
在开始Jekyll容器构建之前,先说一下我用的是一款叫HardCandy-Jekyll的主题,作者是xukimseven。
这款主题非常简洁清新,而且对移动端也有适配,在这里也感谢这位作者开源这个主题。
在依照作者提供的部署说明在自己的仓库部署好该主题后,在仓库下先新建一个Dockerfile文件用于容器构建,Dockerfile文件内容如下。
FROM ruby:latest
RUN gem sources --add https://gems.ruby-china.com/ --remove https://rubygems.org/
RUN gem install jekyll bundler
COPY . /blog/
RUN bundle config mirror.https://rubygems.org https://gems.ruby-china.com
RUN cd blog \
         && bundler install
WORKDIR /blog
CMD bundle exec jekyll serve --host 0.0.0.0
文件内容主要是使用ruby容器为基础,用gem命令安装jekyll和bundler,由于国内使用国外的gem源比较慢,所以我将源替换为gems.ruby-china.com。
在安装前确保linux内核版本是3.10以上并且是64位的centos版本。如果不能满足这个前提,建议看官的教程。
sudo yum update
sudo yum -y install docker
在安装完docker后,还需要配置免sudo使用docker命令,步骤如下:
sudo groupadd docker
sudo gpasswd -a gzp docker # gzp为我的用户名
sudo service docker restart
newgrp - docker
运行完后重新打开ssh会话。
docker build -t elfgzp.github.io . # elfgzp.github.io为我的容器名称
运行结果如下:
Sending build context to Docker daemon  203.5MB
Step 1/8 : FROM ruby:latest
 ---> eb8759981348
Step 2/8 : RUN gem sources --add https://gems.ruby-china.com/ --remove https://rubygems.org/
 ---> Using cache
 ---> 9825055ad6ed
Step 3/8 : RUN gem install jekyll bundler
 ---> Using cache
 ---> 1f6bad52f4e4
Step 4/8 : COPY . /blog/
 ---> e252fdb8d16a
Step 5/8 : RUN bundle config mirror.https://rubygems.org https://gems.ruby-china.com
 ---> Running in aeb0a7c21689
Removing intermediate container aeb0a7c21689
 ---> 2a3944c701f0
Step 6/8 : RUN cd blog          && bundler install
 ---> Running in 494cbc520804
Fetching gem metadata from https://gems.ruby-china.com/...........
Fetching public_suffix 3.0.2
Installing public_suffix 3.0.2
Using addressable 2.5.2
Using bundler 1.16.5
Using colorator 1.1.0
Using concurrent-ruby 1.0.5
Using eventmachine 1.2.7
Using http_parser.rb 0.6.0
Using em-websocket 0.5.1
Fetching ffi 1.9.23
Installing ffi 1.9.23 with native extensions
Using forwardable-extended 2.6.0
Using i18n 0.9.5
Using rb-fsevent 0.10.3
Using rb-inotify 0.9.10
Using sass-listen 4.0.0
Fetching sass 3.5.6
Installing sass 3.5.6
Using jekyll-sass-converter 1.5.2
Using ruby_dep 1.5.0
Using listen 3.1.5
Using jekyll-watch 2.0.0
Fetching kramdown 1.16.2
Installing kramdown 1.16.2
Using liquid 4.0.0
Using mercenary 0.3.6
Using pathutil 0.16.1
Fetching rouge 3.1.1
Installing rouge 3.1.1
Using safe_yaml 1.0.4
Fetching jekyll 3.8.1
Installing jekyll 3.8.1
Fetching jekyll-feed 0.9.3
Installing jekyll-feed 0.9.3
Fetching jekyll-seo-tag 2.4.0
Installing jekyll-seo-tag 2.4.0
Fetching minima 2.5.0
Installing minima 2.5.0
Bundle complete! 4 Gemfile dependencies, 29 gems now installed.
Bundled gems are installed into `/usr/local/bundle`
Removing intermediate container 494cbc520804
 ---> c5cadba1e55e
Step 7/8 : WORKDIR /blog
 ---> Running in ccff546be8e0
Removing intermediate container ccff546be8e0
 ---> 70d0f72ed6b1
Step 8/8 : CMD bundle exec jekyll serve --host 0.0.0.0
 ---> Running in ae3fd7719de5
Removing intermediate container ae3fd7719de5
 ---> e9973d4dac75
Successfully built e9973d4dac75
Successfully tagged elfgzp.github.io:latest
docker run -d -p 4000:4000 elfgzp.github.io
运行后使用docker ps查看容器是否成功运行,或者使用curl http://127.0.0.1:4000访问4000端口。
由于我们要实现自动化构建和运行容器,这里使用了docker-compose
sudo yum -y install epel-release
sudo yum -y install python-pip
pip install docker-compose
docker-compose.yml的内容非常简单,内容如下:
version: '3'
services:
  blog:
    build:
      context: .
      dockerfile: Dockerfile
    image: elfgzp.github.io:latest # 这里是我镜像的名字
    network_mode: host
这里将更新代码的git pull命令也加进去了,运行代码如下:
git pull origin master && \
docker-compose build && \
docker-compose down && \
docker-compose up -d
运行后会从git仓库拉取最新的代码,并根据Dockerfile进行容器构建,并且重启容器。
到这里我们已经可以直接使用上面的命令拉取最新的代码,并且能够构建运行新的容器,我们只剩下一个自动触发这个命令的工具,这里就需要用到Travis,接下来我会讲解Travis如何使用。
首先我们需要注册一个Travis账号,并且关联Github。
在创建好账号并关联Github后,需要添加你的Github pages仓库。

在添加好后进入仓库的设置,点击仓库右边的more action,并选择settings。

然后需要从Github获取一个DEPLOY_TOKEN,步骤如下:
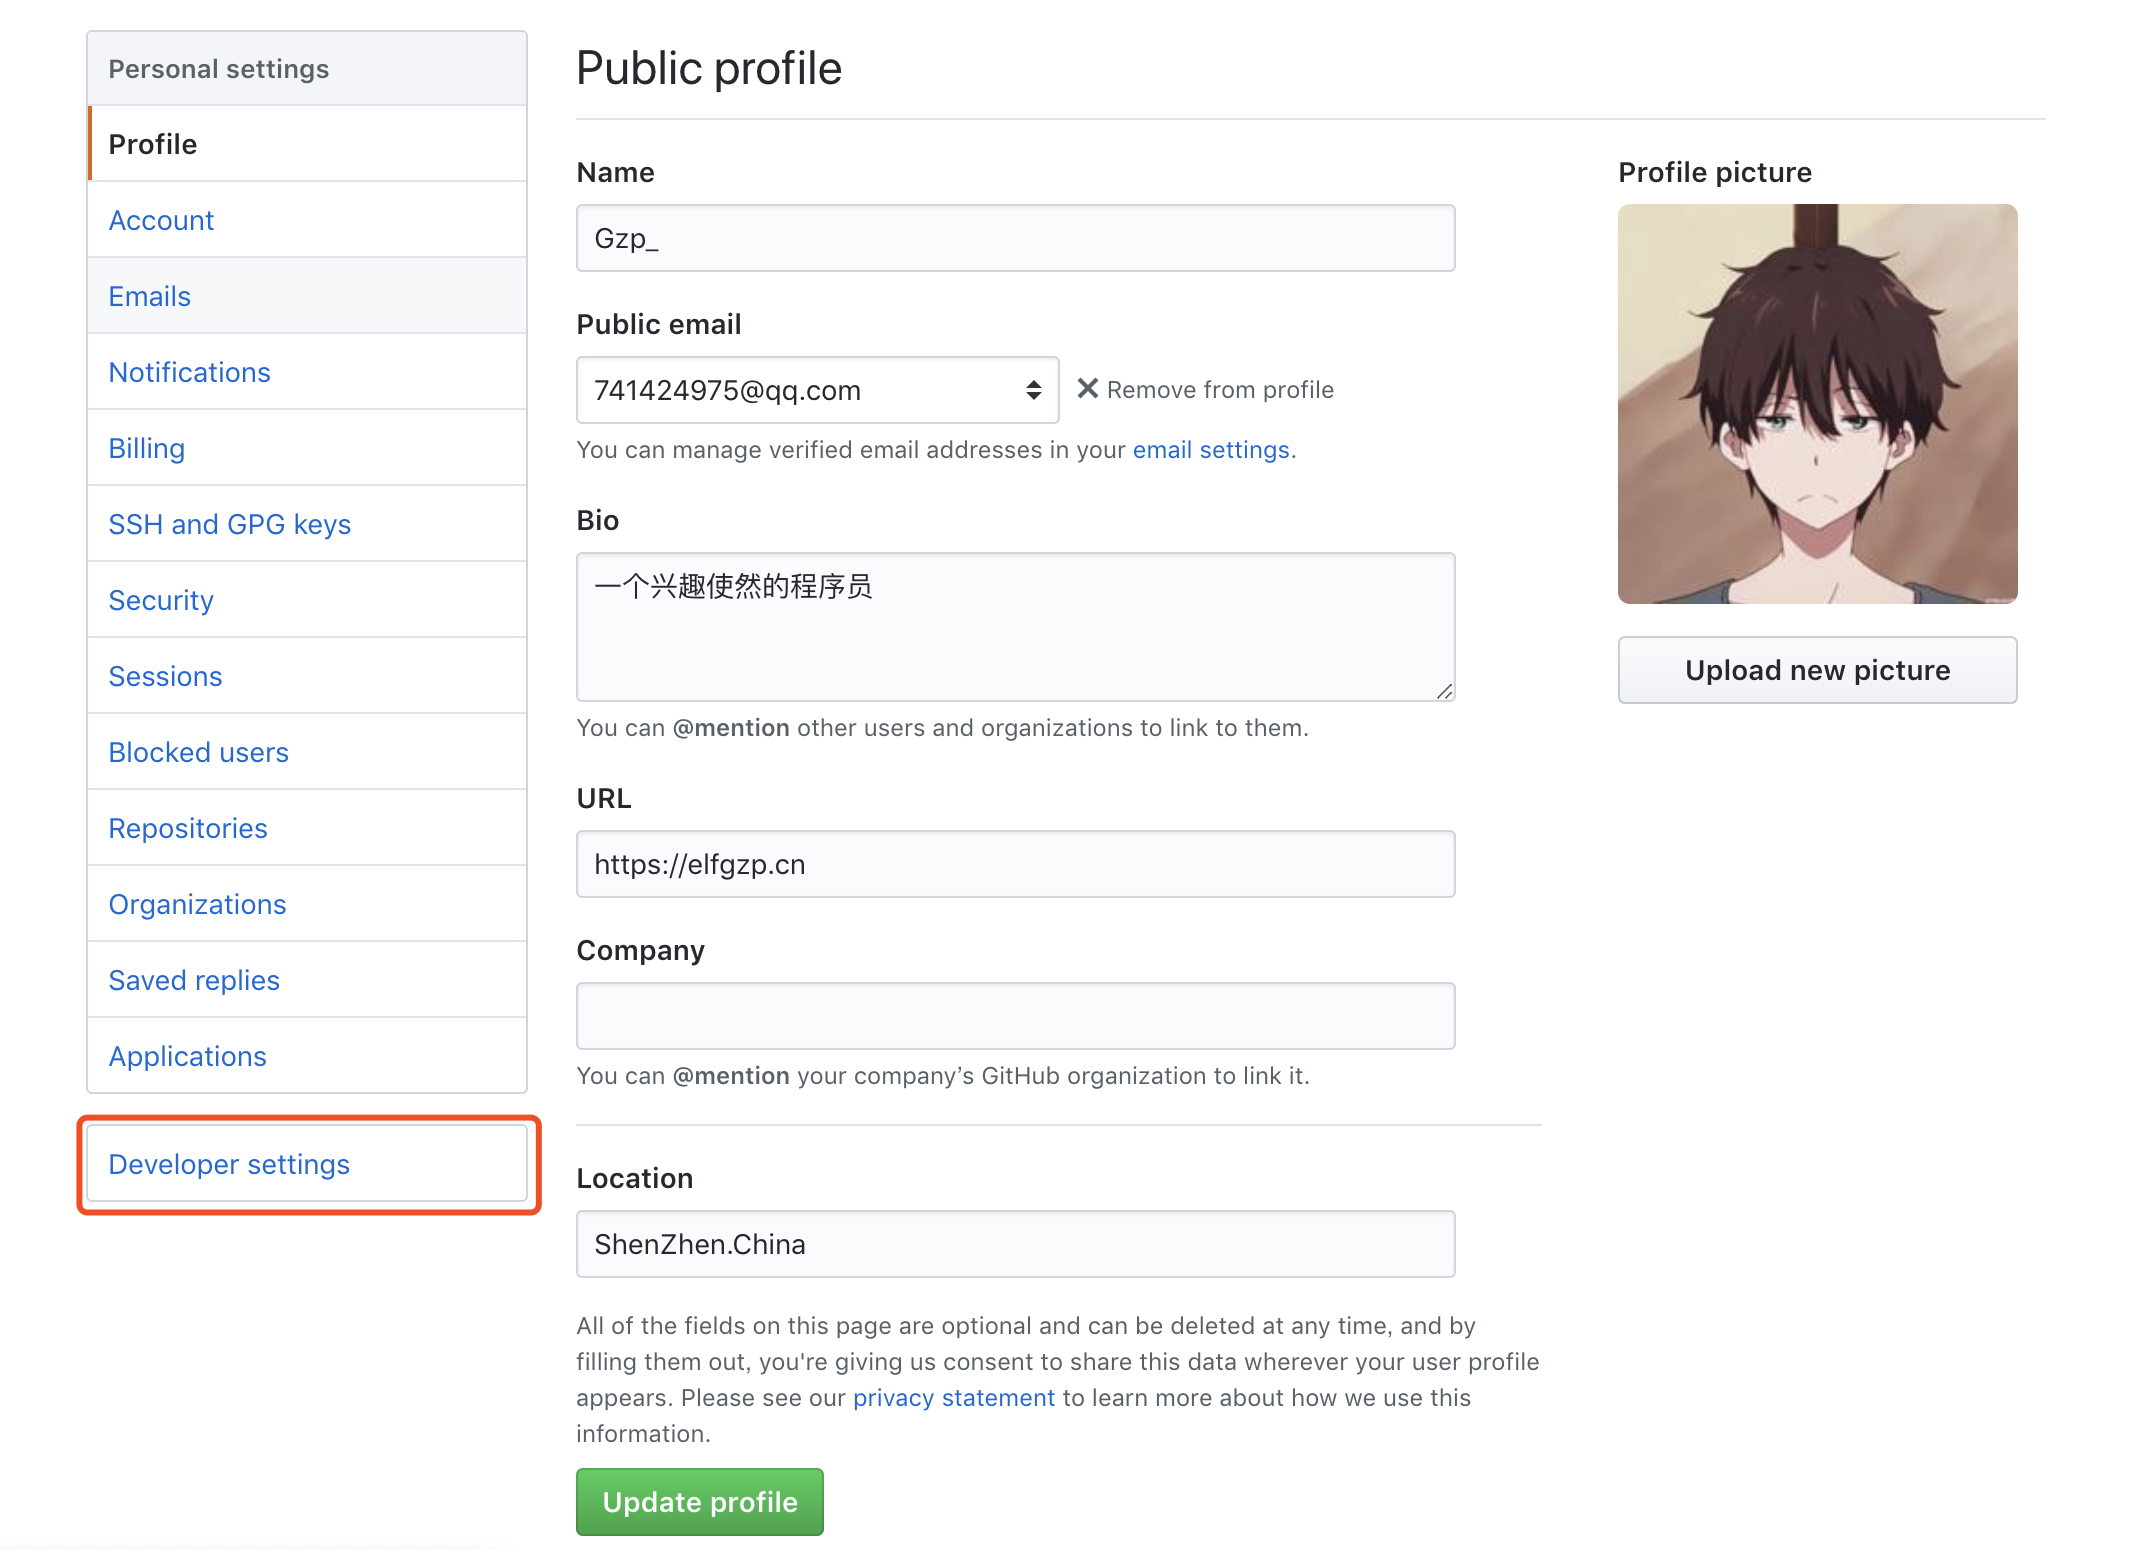
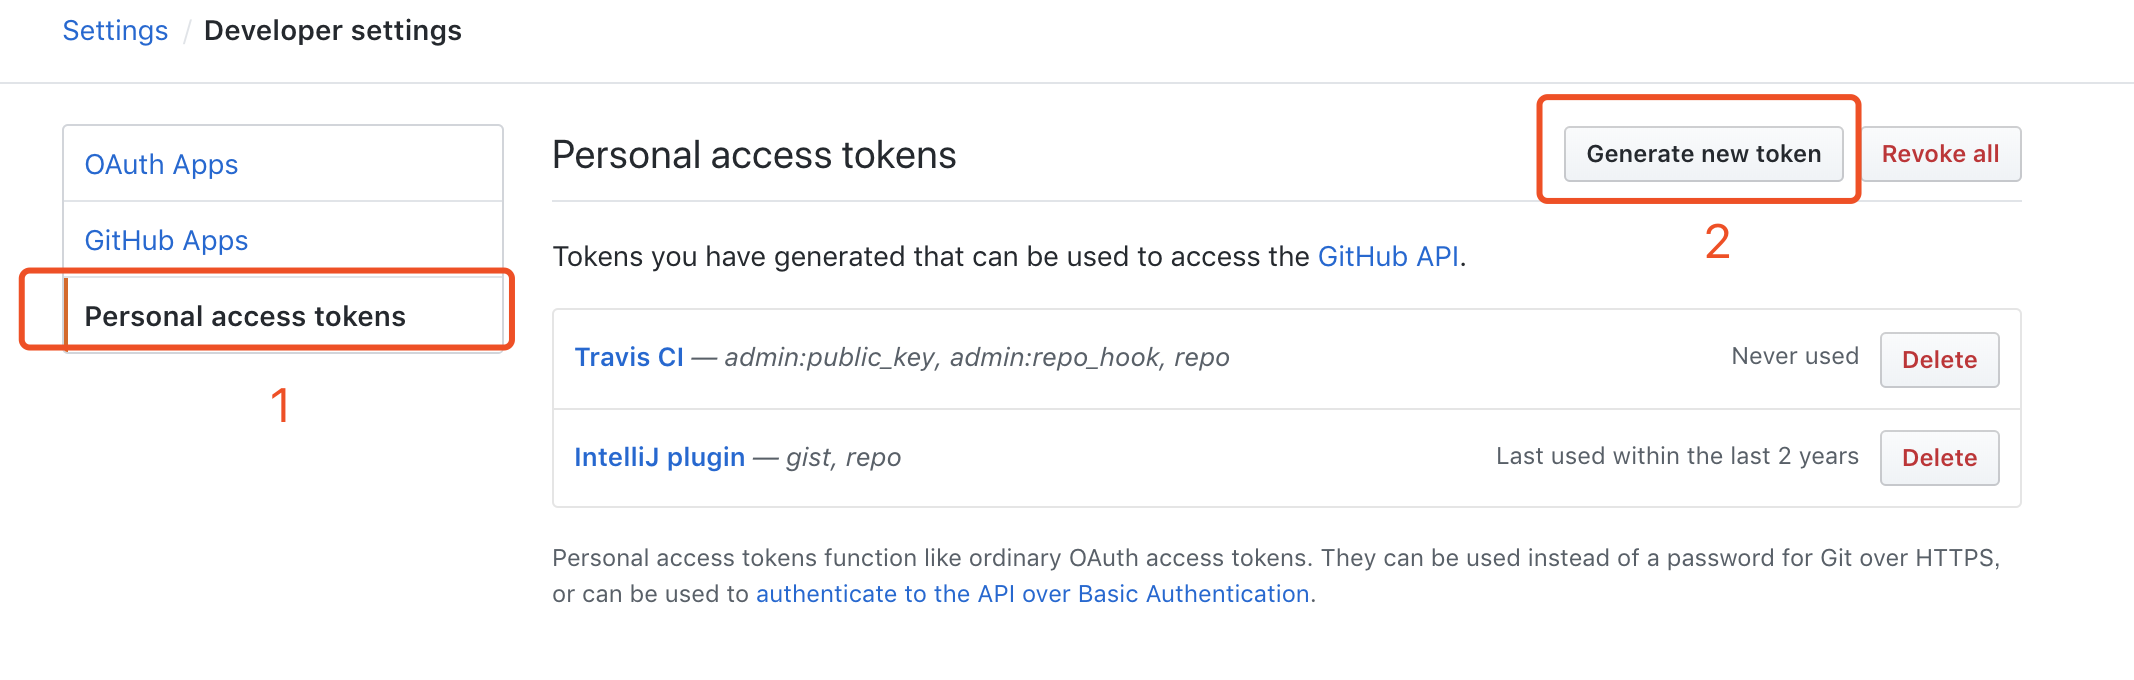
进入Github设置页面,点击Developer Settings
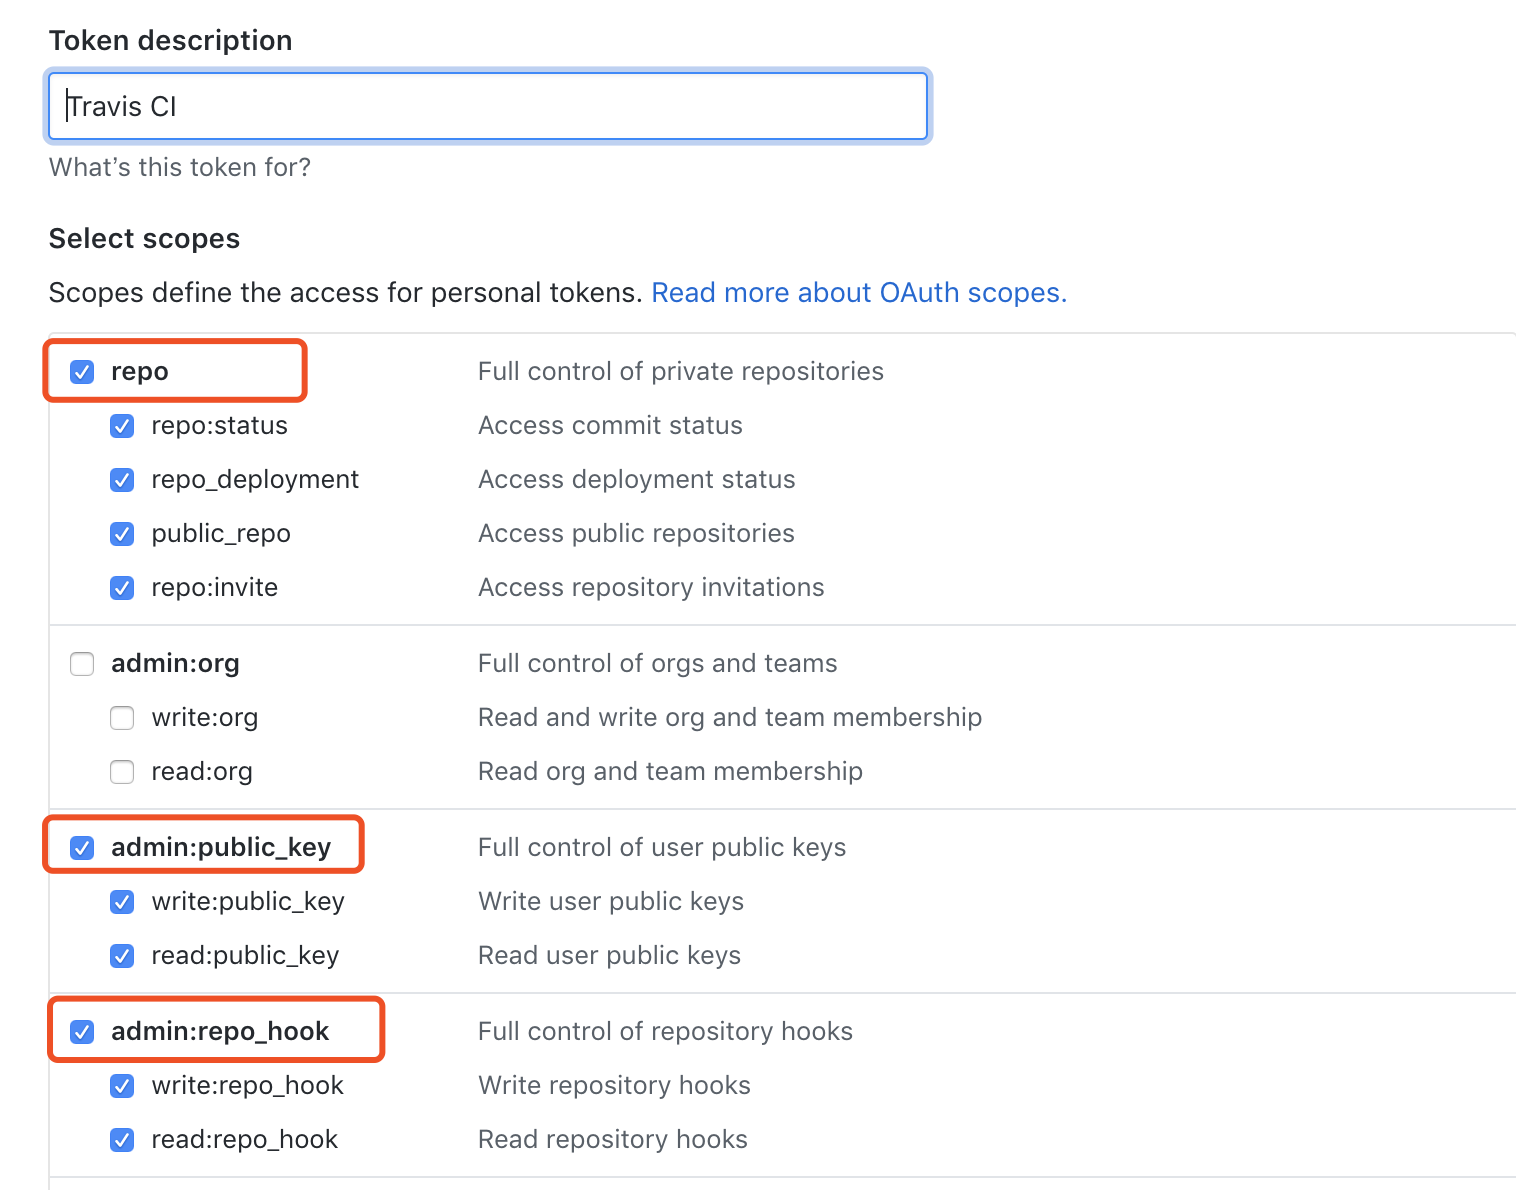
然后在点击Personal access tokens,在点击右上角的Generate new token
输入生成的token名称,然后勾选admin:public_key, admin:repo_hook, repo
最后将成的DEPLOY_TOKEN填入Travis的Environment Variables中

最后我们还需要配置Travis远程登陆我们云服务器的ssh key
首先需要在本地生成id_ras_deploy和id_ras_deploy.pub
ssh-keygen -t rsa -C "deploy_key" -f ~/.ssh/id_ras_deploy
然后将生成的id_ras_deploy.pub复制到云服务器中
ssh-copy-id -i ~/.ssh/id_ras_deploy.pub gzp@cloud.elfgzp.cn # 我的服务器域名
在仓库中创建ssh_config文件,内容如下
Host cloud.elfgzp.cn
    HostName cloud.elfgzp.cn
    StrictHostKeyChecking no
    User gzp
    IdentityFile ~/.ssh/id_ras_deploy
最后在安装好Travis,运行命令
gem install travis
travis login --auto  # 注意这里登陆会要求输入Github账号密码,账号是邮箱不是用户名
touch .travis.yml
travis encrypt-file ~/.ssh/id_ras_deploy --add
会在生成的.travis.yml中看到
before_install:
- openssl aes-256-cbc -K $encrypted_f91baf41390f_key -iv $encrypted_f91baf41390f_iv
  -in id_ras_deploy.enc -out ~/.ssh/id_ras_deploy -d
注意~/.ssh有可能为~\/.ssh 需要去掉 \
我们还需要在after_success中加入成功之后访问云服务器执行响应的操作更新容器并运行
after_success:
- ssh gzp@cloud.elfgzp.cn "cd ~/workspace/elfgzp.github.io && source ~/.zshrc  && git pull origin master
  && docker-compose build && docker-compose down && docker-compose up -d"
注意这里我使用的是zsh所以配置是~/.zshrc,如果使用的是默认的bash,请使用~/.bashrc
最后的.travis文件格式如下:
language: ruby
rvm:
- 2.3.3
addons:
  ssh_known_hosts: cloud.elfgzp.cn
before_install:
- openssl aes-256-cbc -K $encrypted_f91baf41390f_key -iv $encrypted_f91baf41390f_iv
  -in id_ras_deploy.enc -out ~/.ssh/id_ras_deploy -d
- chmod 600 ~/.ssh/id_ras_deploy
- cp ssh_config ~/.ssh/config
script:
- bundle install
- bundle exec jekyll build
after_success:
- ssh gzp@cloud.elfgzp.cn "cd ~/workspace/elfgzp.github.io && source ~/.zshrc  && git pull origin master
  && docker-compose build && docker-compose down && docker-compose up -d"
branches:
  only:
  - master
env:
  global:
  - NOKOGIRI_USE_SYSTEM_LIBRARIES=true
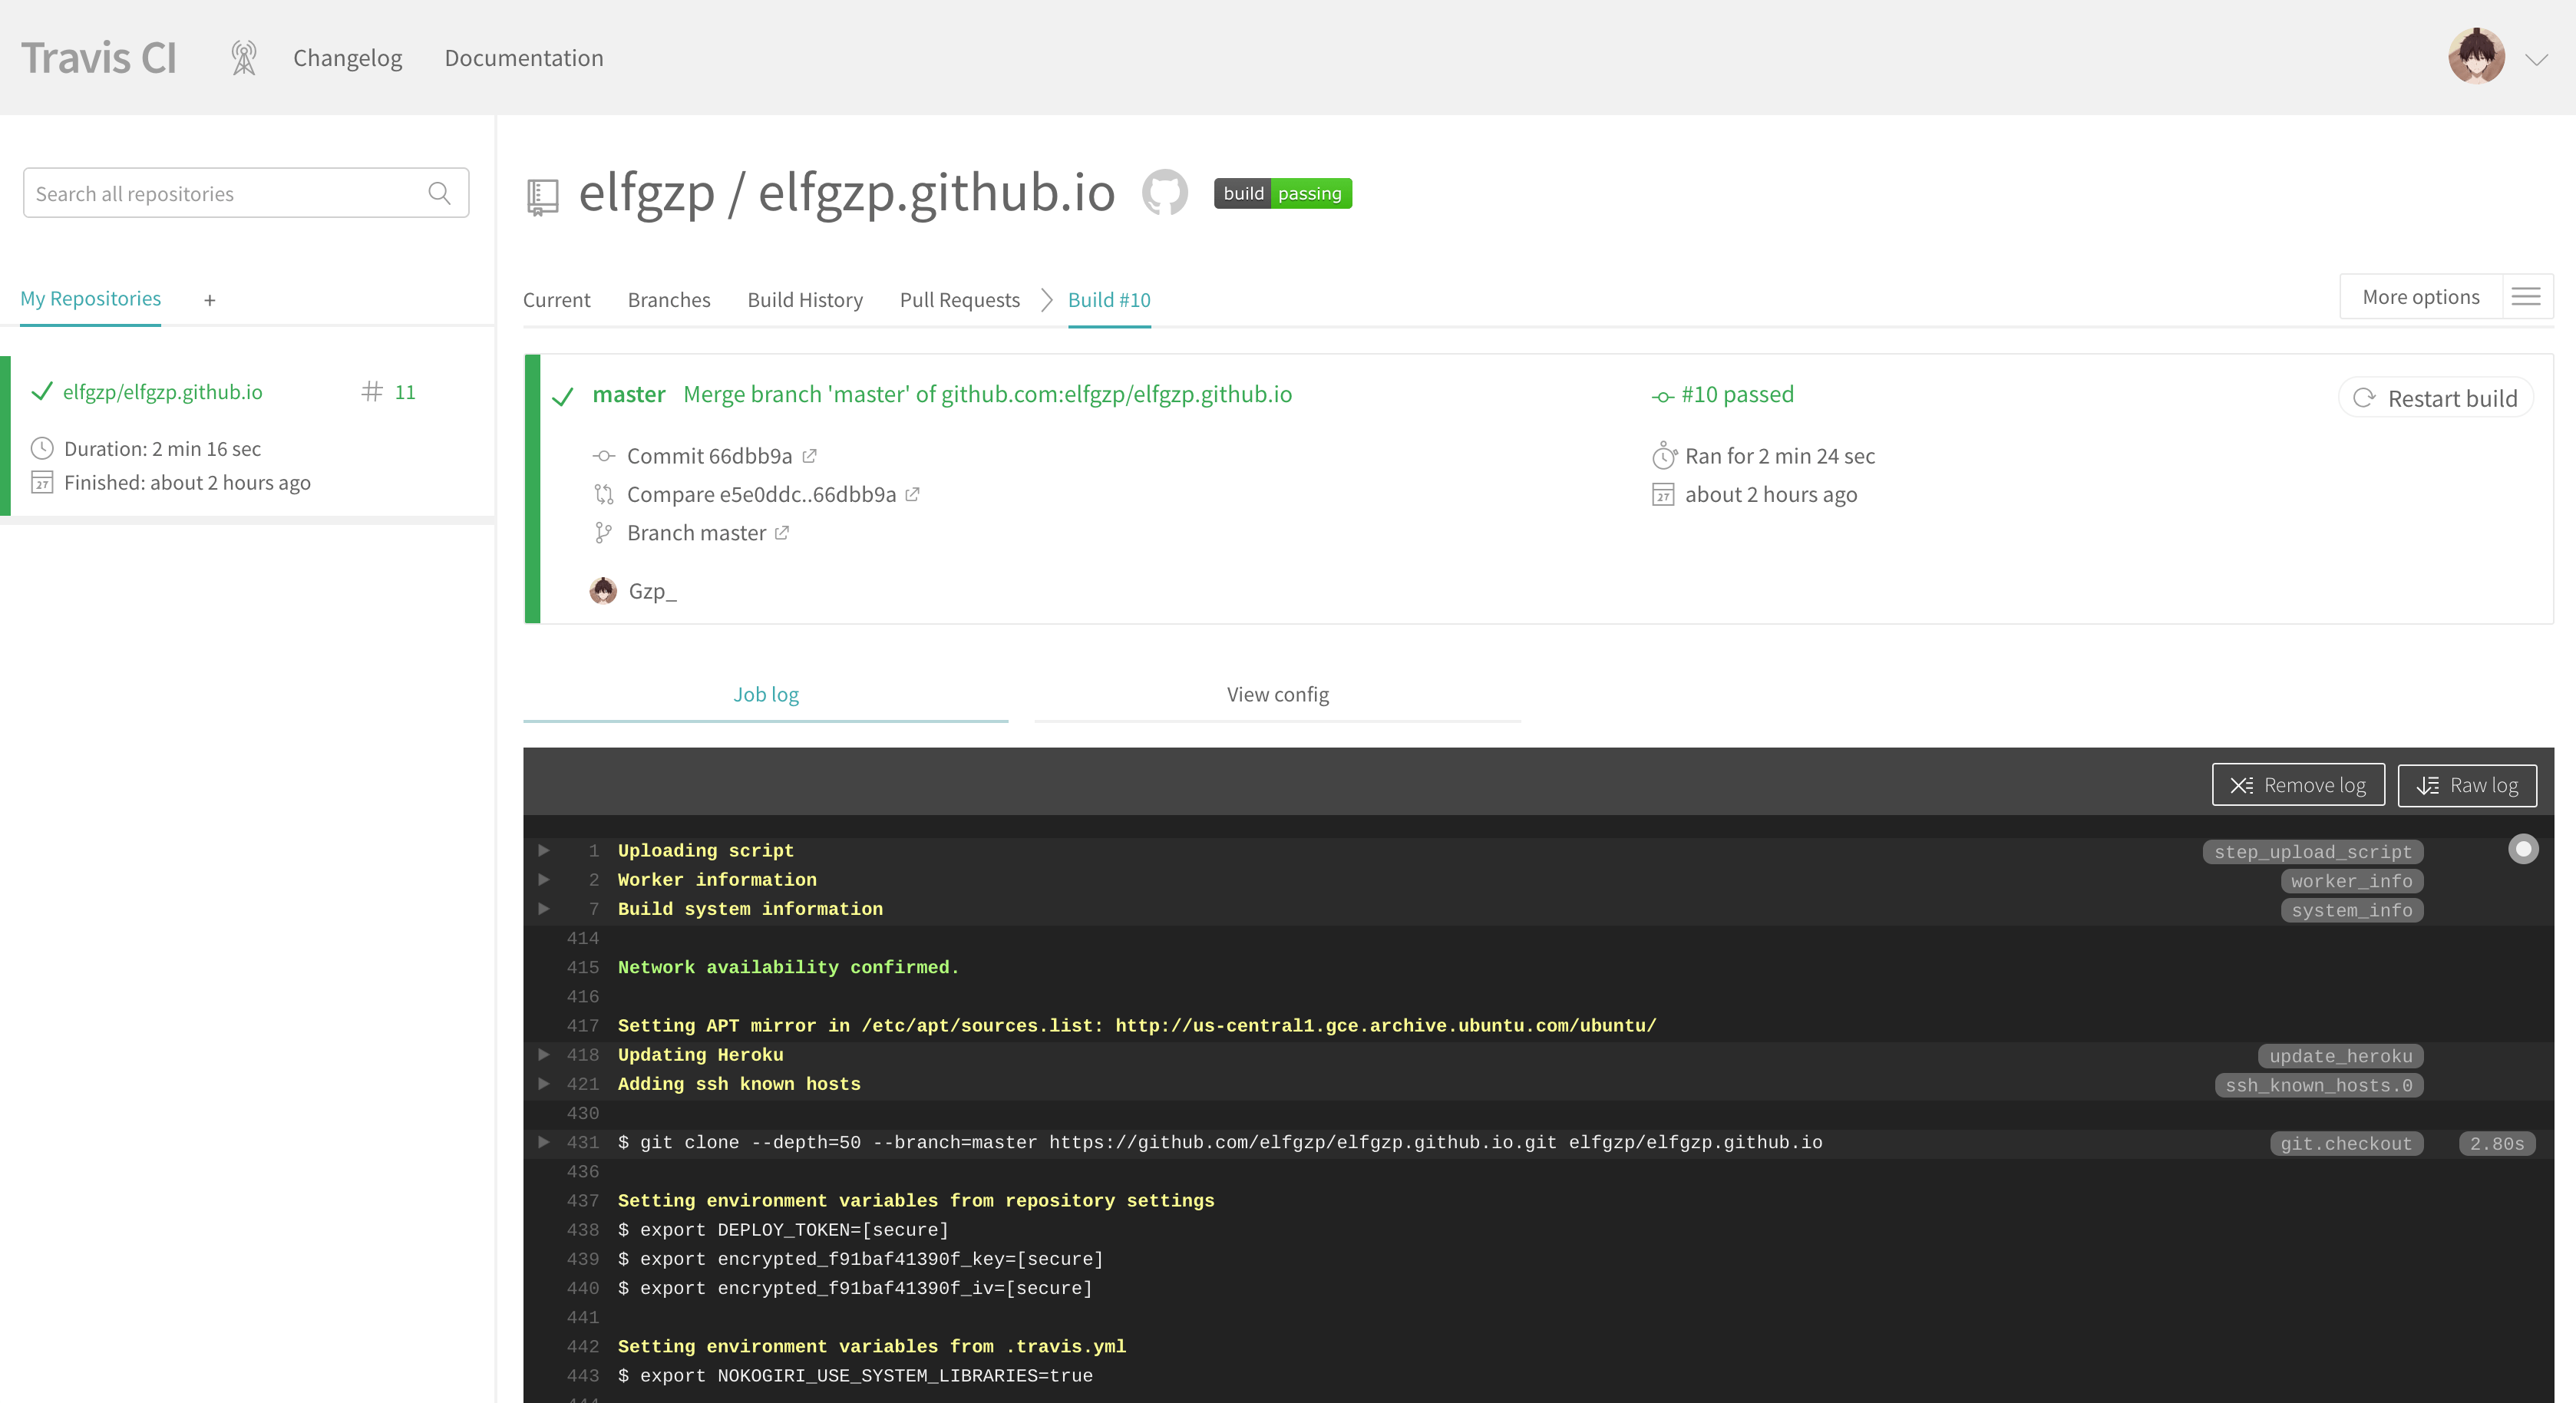
大功告成,最后我们只需要把代码提交到master分支,然后到Travis中查看代码的build结果,如果成功则最后的结果应该与运行docker-compose的结果相同。
在网上其实还有很多通过coding pages与github pages同步的方式来解决百度爬虫被禁用的问题,之所以我会选择这种方式,因为这种方式能学到更多使用的技术知识。
希望看完本文章由收获的别忘了给我留言哦。
centos安装docker,docker-compose
基于Docker搭建Jekyll并实现自动部署
Jekyll + Travis CI 自动化部署博客
Travis-ci远程部署到服务器
使用travis自动部署hexo日志